
The Finder app allows you to browse, organize, and manage files stored locally, on USB drives, or in connected cloud storage.
1. Open the Finder App
- Tap the Finder icon on the Home screen.
- Local files, USB drives, and cloud drives will appear in the left sidebar.
2. Change Display Mode
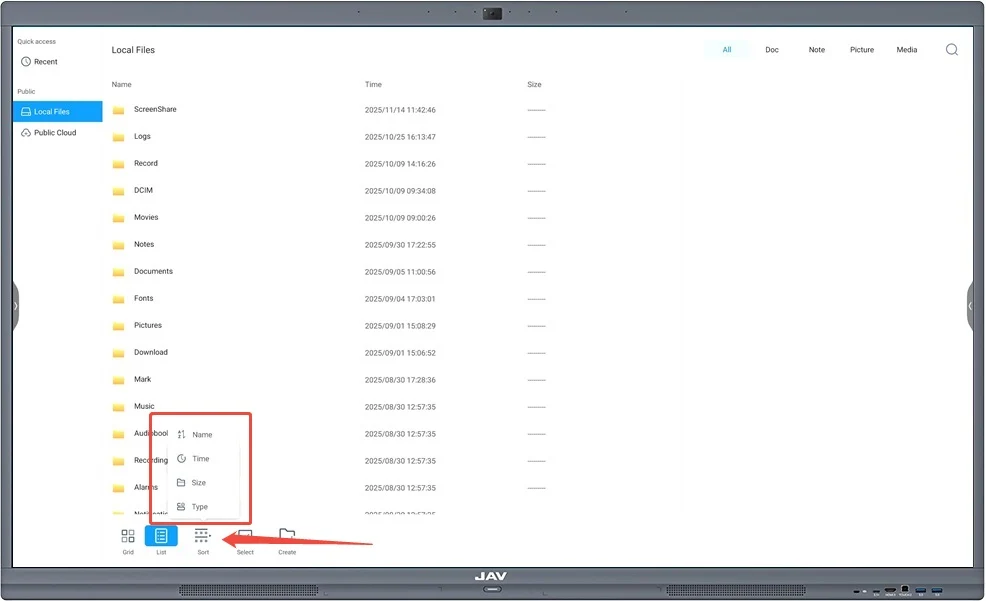
(a) Sort Files
- Tap the Sort icon to arrange files by name, type, size, or time.
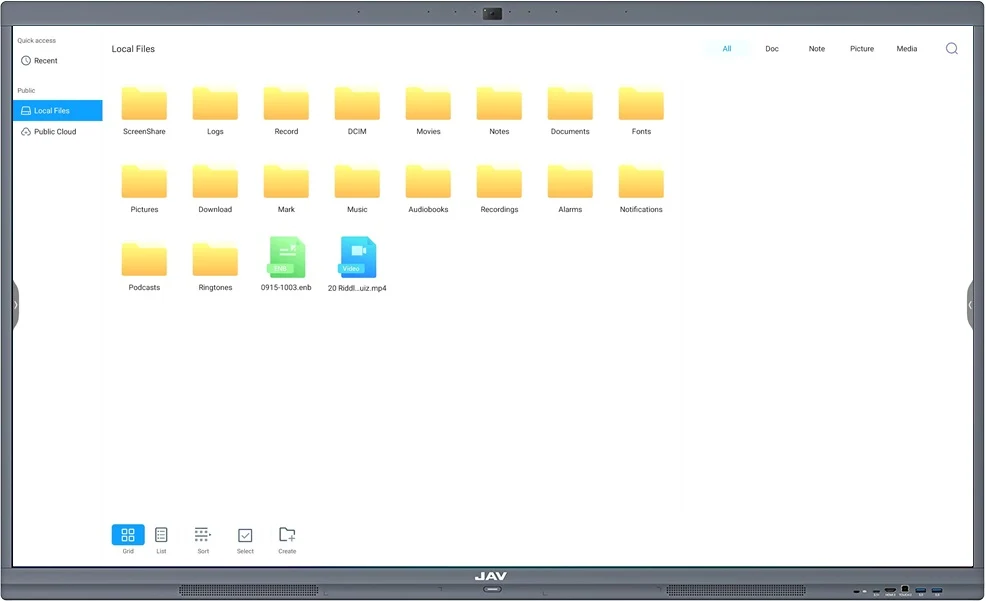
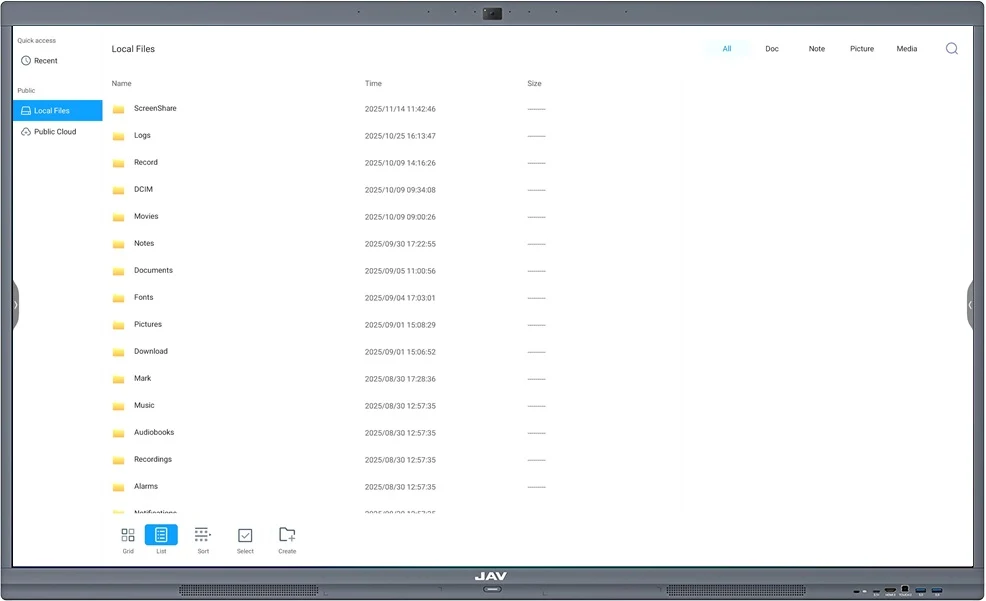
(b) Display Format
- Tap the Grid icon to show files in a grid.
- Tap the List icon to show files in a list.
3. Use the Toolbar
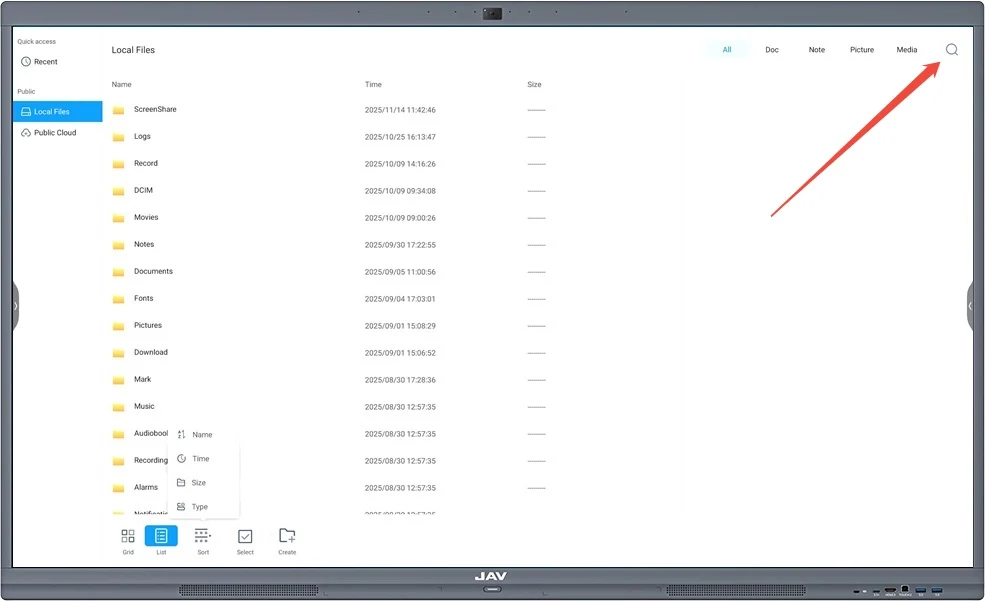
(a) Search
- Tap the Search icon and enter a file name to locate a file in the current directory.
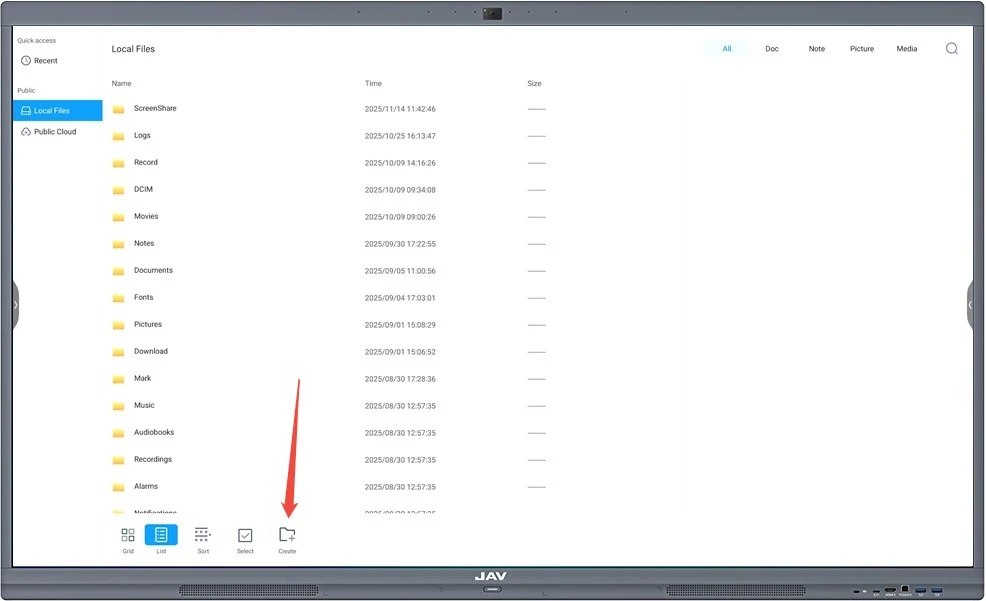
(b) Create a New Folder
- Tap the Create icon to create a new folder.
4. Expand Menu Functions
Tap the Expand Menu icon to manage files. Available actions include:
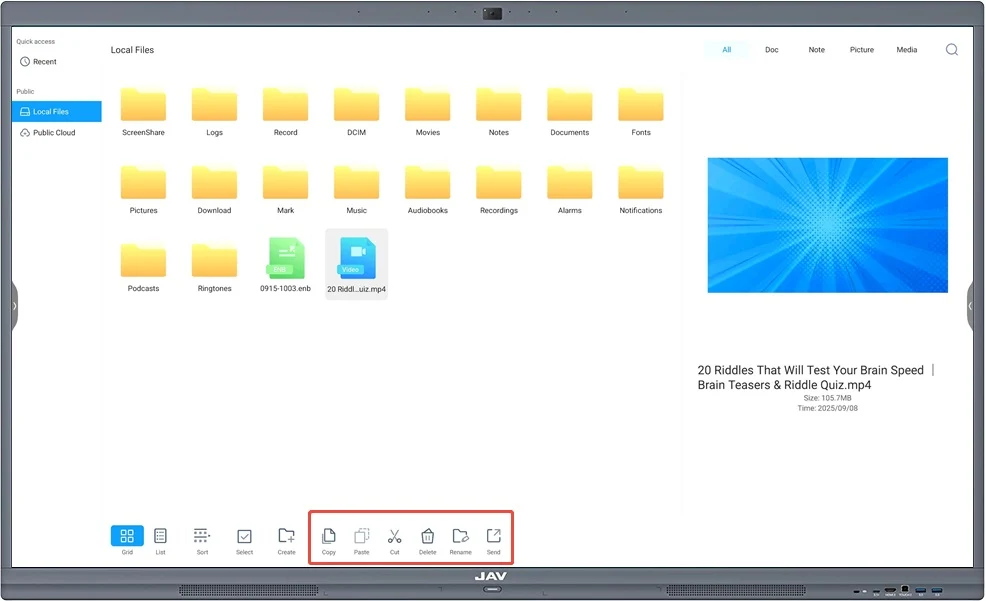
- Select files: Tap the box in the top-right corner of a file or folder.
- Select all files: Tap the Select All icon.
- Deselect files: Tap the Deselect icon.
- Copy files: Tap the Copy icon.
- Cut files: Tap the Cut icon.
- Paste files: Tap the Paste icon to insert copied/cut files into the current directory.
- Rename files: Tap the Rename icon (only one file can be renamed at a time).
5. Filter by File Type
At the top of the Finder window, you can filter files by category:

- All – Displays all files.
- Doc – Displays Word, Excel, PDF, and TXT files.
- Note – Displays ENB or JPG note files.
- Picture – Displays image files (PNG, JPG, etc.).
- Media – Displays audio (MP3) and video (MP4) files.
With these features, the Finder app makes it easy to organize, locate, and manage files on your JAV Smart Board.